It is a network (or a graph) sequencer, a AI supported sequencer, a aleatoric-nonaleatoric sequencer, a drawing music notation or experimental notation, a midi sequencer and a audio-data sequencer.
The sequencing is done by arranging nodes (audio/midi/notation events) with edges between each other. The edges just pass the activity around and the nodes are active or not and release activity.
The music-notation-node is not finished now. It is a straight forward new resembling of the idea of the UPIC (Unité Polyagogique Informatique du CEMAMu (Centre d'Etudes de Mathématique et Automatique Musicales), also take a look at Iannis Xenakis post mortem page http://www.iannis-xenakis.org/xen/bio/biography.html) as far as we understand it. To get deeper into the point of viewing music take a look into his work Formalized music https://monoskop.org/images/7/74/Xenakis_Iannis_Formalized_Music_Thought_and_Mathematics_in_Composition.pdf
We are not interested in formalizing music. We are up to network sequencing and complex event-driving through this and also to the transformation of drawings into musical control values. We attribute this aleatoric-nonaleatoric, because we do not use chance as a basis for a algorithmic music, but a algorithm to extract control values from drawings. That is more or less a case of serendipity, you can expect certain results, but the results are not fully predictable, but not randomly.
There are two nodes to just affect the activity flowing through the arrangement of nodes and edges. The split-node and the sum-node. The split-node is a input and output node for edges, it just passes through activity. It could also delay the passing of activity.
The sum-node has a internal count of incoming activation. If the amount of activity has arrived the node releases a activation. The count could be freely set or is the sum of all incoming connections.
The switch-node routs incoming activation to one of its outputs. It starts with the first output and went on to the last, if the last is reached it continues with the first output.
The audiofile-node is a node that can play back audio files. At the moment it is restricted to .wav and .mp3 files.
The audio-recorder-node is a node that record a stream from the microphone. If a selection of the audio source is needed post it as a issue.
The midi-node release MIDI messages. Note it uses WebMidi API, which must be supported by your browser. Also your operating system needs a MIDI configuration or tool. See the notes in this section: https://github.com/qwolilowp/Z_TENNOT_IU/blob/master/README.md#midi
The url-node is a node that asks for a youtube URL and playes back the sound from the video behind the link, when activated.
Visit https://nodesandedges.de/ for a quick test. If you like to install this software, just download the nadne Folder and open the index.html with your browser or push the nadne folder to your HTTP-Server. Note: HTTPS is required because the page requests access to the MIDI- and Audio-Input-Hardware.
On startup you get a promt to put in a alternative width and height of the workbench area. If you do not input anything you have the browser window size as a input region.

Next to the promt you see a large button labeled Audio ON, the webpage could not use your microphone without your permission. You hit this button and everything is empty.

If you click onto the gray webpage you will get the main menu. And color, we work as colorful as possible. Color will change by using the menus and by the passing activity.

The fist button in the menu does nothing. It is labeled None. The second button in the menu, labeled Add NotationNode, adds a music-notation-node. The second button in the menu, labeled Add SplitNode, adds a split-node to the workbench. The third button of the main menu, labeled Add SumNode, adds a sum-node to the webpage. The fourth button, labeled Add AudioFileNode, opens a dialog to select a sound file and add a playbacknode to the workbench. The fifth button, labeled Add AudioRecNode, opens the microphone to record some noise. After hitting the Stop Rec button and naming (promt) your recording, a audio-recording-node is added. The sixth button in the menu, labeled Add MidiNode, will add a midi-node to the workbench. With the seventh button you could stop the propagation of activity. The next two buttons will save and open the sequence you build. The data is stored to the local storage and the indexed database of your browser. If you reset the browser caches, that data my get deleted depending on your configuration. The last tree buttons / fileselection. Do export/download the sequence. Imports a saved sequence and reloads the page.

After the creation of a notation node you get a node displayed and consisting of a menu and a draw section.
The button hand - is the point to grab and drag around to give the node a new position on the workbench.
The button CO - is the target for the start / end of connections between the nodes.
The button XC - deletes all outgoing connections of the notation-node.
The button ED - opens up/hides the drawing area for manipulation.

The button MO - sets the modus of the notation-node (unused at the moment).
The button DU - opens a promt that ask for a new duration value (in millisecends). After a input the new duration is set. Duration is displayed after the node menu.
The button DO - just activates the node.
The button MU - mutes i.e. disables the node. No activation is propagated. Could be used to close parts of the network.

The button hand - is the point to grab and drag around to give the node a new position on the workbench.
The button CO - is the target for the start / end of connections between the nodes.
The button XC - deletes all outgoing connections of the notation-node.
The button MU - mutes i.e. disables the node. No activation is propagated. Could be used to close parts of the network.
The button DU - opens a promt that ask for a new duration value (in millisecends). After a input the new duration is set. Duration is displayed after the node menu.
It is a switch between outputs of the node. The next activation path is highlighted by a thicker outgoing edge.

The button hand - is the point to grab and drag around to give the node a new position on the workbench.
The button CO - is the target for the start / end of connections between the nodes. Every outgoing connection is switched, the switch is triggerd by any incomming activation.
The button XC - deletes all outgoing connections of the notation-node.
The button MU - mutes i.e. disables the node. No activation is propagated. Could be used to close parts of the network.
After you selected the audio file from the file selection popup you get the audio-file-node. The filename of the audio file is displayed after the node menu.
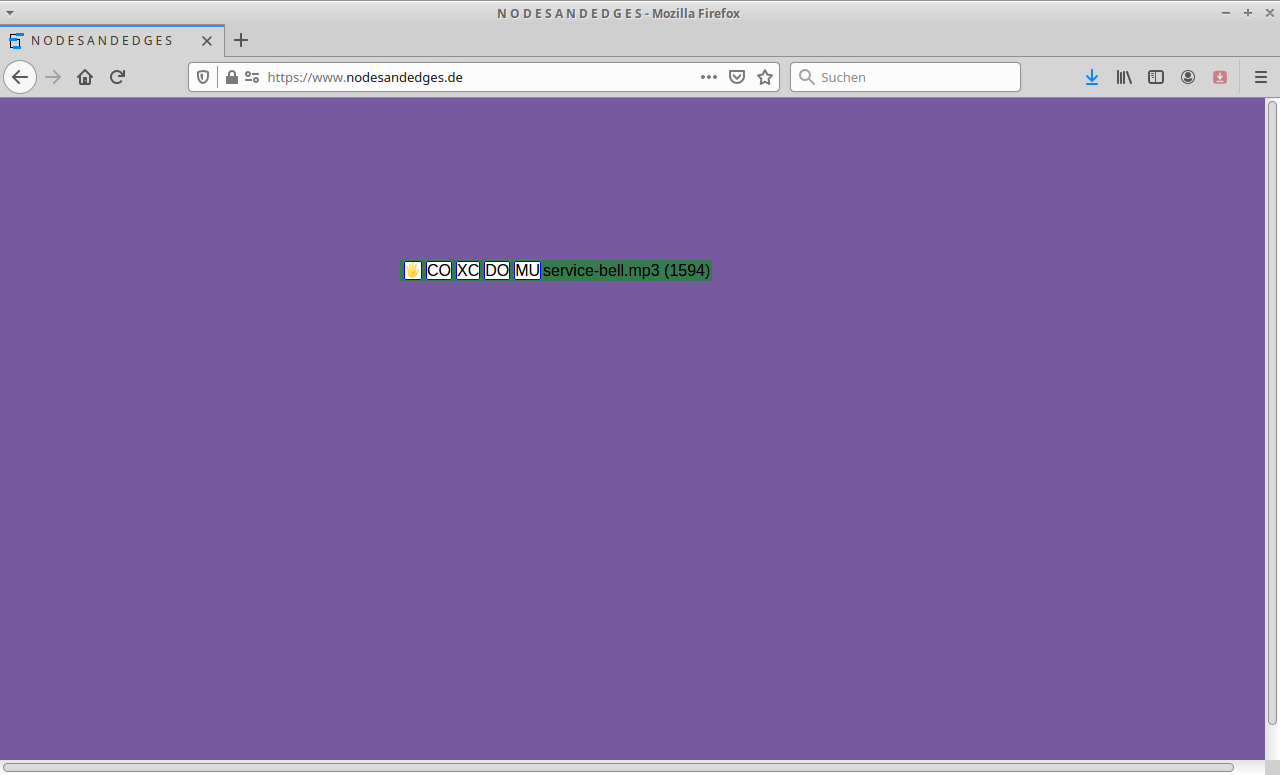
The button hand - is the point to grab and drag around to give the node a new position on the workbench.
The button CO - is the target for the start / end of connections between the nodes.
The button XC - deletes all outgoing connections of the notation-node.
The button DO - just activates the node.
The button MU - mutes i.e. disables the node. No activation is propagated. Could be used to close parts of the network.
Immediately after clicking the Add AudioRecNode button the recording will start. Sometimes your browser will ask if the webpage is allowed to access your microphone. After you did your recording and hit Stop REC! the node is added to the workbench. The name you give to the recording is displayed after the node menu. The duration is shown in brackets after the name.

The button hand - is the point to grab and drag around to give the node a new position on the workbench.
The button CO - is the target for the start / end of connections between the nodes.
The button XC - deletes all outgoing connections of the notation-node.
The button DO - just activates the node.
The button MU - mutes i.e. disables the node. No activation is propagated. Could be used to close parts of the network.
The midi-node has a node and a midi menu.

Node menu:
The button hand - is the point to grab and drag around to give the node a new position on the workbench.
The button CO - is the target for the start / end of connections between the nodes.
The button XC - deletes all outgoing connections of the notation-node.
The button DU - opens a promt that ask for a new duration value (in millisecends). After a input the new duration is set. Duration is displayed after the file name.
The button DO - just activates the node.
The button MU - mutes i.e. disables the node. No activation is propagated. Could be used to close parts of the network.
Midi menu:
The first select is a choice between the midi massage types: note (note), aftertouch (adtert) and pitchbend (pibend). The next select is the midi channel (1-16). The third select is for the pitch. The last select sets the velocity.
Immediately after clicking the Add UrlNode button a dialog will request the Youtube URL. After the node is cresated the Video ID is displayed and in brackets the duration of the node. The Duration of the node equals the duration of video.

The button hand - is the point to grab and drag around to give the node a new position on the workbench.
The button CO - is the target for the start / end of connections between the nodes.
The button XC - deletes all outgoing connections of the notation-node.
The button DO - just activates the node.
The button MU - mutes i.e. disables the node. No activation is propagated. Could be used to close parts of the network.
If you hit a DO button on any node, than the node is activated. The active nodes are highlighted by a colored box beneath the node menu. All the outgoing edges are also highlighted. That means the nodes at the end of these edges will be active next. If you have simple connections between you nodes, the activation will die if the last node, that has no outgoing edge, was active. If you have a cycle in you connections than activity will be passed around for ever. A node could just be active or inactive. If a activated node receives a second activation this activation is skipped. But it is possible to pass around activation at different points of the network at the same time.


A quick video view of nodesandedges: https://nodesandedges.de/bellsairplainsanddoors.webm
Chrome Version 85.0.4183.102 (Offizieller Build) (64-Bit Linux)
Firefox Version 83.0 (64-Bit Linux)
Chromium Version 87.0.4280.66 (Offizieller Build) (64-Bit Linux)
Chrome Version 87.0.4280.88 (Offizieller Build) (64-Bit Windows)
Opera Version 72.0.3815.400 (64-Bit Windows)
Firefox Version 83.0 (32-Bit Windows)
Opera Version 68.0.3618.173 (64-Bit Linux)