Home

![]()
![]()
![]()
![]()


The PUSHBUTTON_SWITCH_LIB is a simple cross-platform C library providing interfaces for pushbuttons and two-state switches (two-state input signals).
-
Push Buttons:
- 3 trigger modes:
- TRIGGER_ON_PUSH,
- TRIGGER_ON_RELEASE,
- TRIGGER_ON_SHORT_PUSH_AND_LONG_PUSH,
- Possibility to enable repetition
- Fully configurable time slots for:
- debounce time,
- time to the first repetition,
- time between continuous repetitions,
- time defining difference between short and long push,
- Option for dynamically registering callbacks for each trigger source
- Driver interface that fully separates from driver layer
- 3 trigger modes:
-
Switches:
- Debounce functionality
- Fully configurable debounce counter.
- Dynamically registering callbacks for switch On and OFF state
- Driver interface that fully separates from driver layer
-
Include the necessary files in your project:
pushbutton.hpushbutton.cpushbutton_GPIO_interface.hpushbutton_TIM_interface.h
-
Initialize the pushbutton(s) using
init_pushbuttonfunction. Example:PUSHBUTTON_TypDef myButton; init_pushbutton(&myButton, REPETITION_ON, TRIGGER_ON_PUSH, pushButton_GPIO_interface_get);
-
Register callbacks for push events:
register_button_push_callback(&myButton, myPushCallback);
-
Periodically check the pushbutton state using
check_pushbutton:check_pushbutton(&myButton);
-
Include the necessary files in your project:
switch.hswitch.cswitch_GPIO_interface.h
-
Initialize the switch using
init_switchfunction. Example:SWITCH_TypDef mySwitch; init_switch(&mySwitch, switch_ON_callback, switch_OFF_callback, switch_GPIO_interface_get);
-
Periodically check the switch state using
check_switch:check_switch(&mySwitch);
-
Implement your callback functions for switch events.
- Make sure to include the necessary dependencies for GPIO and timer interfaces as per your hardware platform.
- Adjust debounce and repetition settings based on your application requirements.
Example of using the library to create a User Interface Keyboard module in the project. The example includes the initialization of one pushbutton keyboard with short-push and long-push with repetition functionality.
- Short-push triggers the LED ON function,
- Long-push triggers the LED TOGGLE function.
- CMake installed
- Make or Ninja installed
- ARM GNU Toolchain (gcc-arm-none-eabi) installed
- STM32_Programmer_CLI installed
- ST-link (placed on Nucleo Board) installed
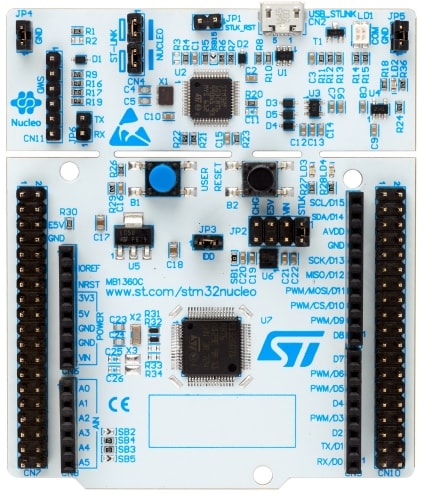
- STM32G071 Nucleo-64
https://www.st.com/en/evaluation-tools/nucleo-g071rb.html
- Open the location you want to clone the repository to in your terminal
- Clone the repository to your preferred localization
git clone https://github.com/niwciu/PUSHBUTTON_SWITCH_LIB.git
- Enter to PUSHBUTTON_SWITCH_LIB/examples/STM32G071_NUCLEO_LL_1_KEY_UI
cd ./PUSHBUTTON_SWITCH_LIB/examples/STM32G071_NUCLEO_LL_1_KEY_UI - For Make type:
cmake -S ./ -B Debug -G"Unix Makefiles" -DCMAKE_BUILD_TYPE=Debugcd Debugmake all
make flash
- For Ninja type:
cmake -S ./ -B Debug -G"Ninja" -DCMAKE_BUILD_TYPE=Debugcd Debugninja
ninja flash
- In some cases Nucleo board requires plugging out and in a USB port to run the program.
Example of using the library to create an input signals module in the project. The example includes the initialization of one two-state switch that calls functions when transitioning to ON and OFF states.
- ON state triggers the LED ON function,
- OFF state triggers the LED OFF function.
- CMake installed
- Make or Ninja installed
- ARM GNU Toolchain (gcc-arm-none-eabi) installed
- STM32_Programmer_CLI installed
- ST-link (placed on Nucleo Board) installed
- STM32G071 Nucleo-64
https://www.st.com/en/evaluation-tools/nucleo-g071rb.html
- Open the location you want to clone the repository to in your terminal
- Clone the repository to your preferred localization
git clone https://github.com/niwciu/PUSHBUTTON_SWITCH_LIB.git
- Enter to PUSHBUTTON_SWITCH_LIB/examples/STM32G071_NUCLEO_LL_2_STATE_SWITCH/
cd ./PUSHBUTTON_SWITCH_LIB/examples/STM32G071_NUCLEO_LL_2_STATE_SWITCH - For Make type:
cmake -S ./ -B Debug -G"Unix Makefiles" -DCMAKE_BUILD_TYPE=Debugcd Debugmake all
make flash
- For Ninja type:
cmake -S ./ -B Debug -G"Ninja" -DCMAKE_BUILD_TYPE=Debugcd Debugninja
ninja flash
- In some cases Nucleo board requires plugging out and in a USB port to run the program.
