-
We also provide a template application using TranferCL. This application defines 2 Java source package:
com.transferCL, which is a java wrapper for the native methods defined in TranferCL (TransferCLlib.java).com.example.myapplication, which is an android activity (MainActivity.java). It calls the methods declared inTransferCLlib.java.
-
We emphasize the fact that TranferCL's methods are declared directly in the android application, but the implementation of these methods is done at the native level. The TransferCL library needs to be built for a specific CPU architecture the user is targeting, such as armeabi-v7a, and a specific brand of GPU, such as Adreno (Qualcomm).
- Once the shared-library is built, the developer needs to put the
.sofile in thejniLibsfolder, as shown in the picture.- Important:
- In the given an example (on the picture), TranferCL has been compiled for
armeabiarchitecture. The building process will output aarmeabifolder with two fileslibcrystax.soandlibtransferCLNative.so. This folder needs to be copied in thejniLibs. - Don't change the folder name and the file names.
- A list of all supported ABIs is given on the NDK website.
- In the given an example (on the picture), TranferCL has been compiled for
- Important:
- Once the shared-library is built, the developer needs to put the

- In this template application, we target mobile phone which supports
armeabiand/orarmeabi-v7aand that have an Adreno GPU. For any other configuration, you need to build the application from scratch.- If you meet any problem during the building process, feel free to create issues (in GitHub) in the top right of this page. Don't worry about whether you think your issue sounds unimportant or trivial. The more feedback we can get, the better!
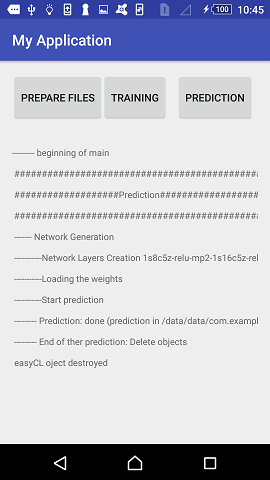
- This application is relatively simple, there are only three buttons (
prepare files,trainingandprediction) and one TextView that mirrors the adb logcat output. - Files preparations (
prepare files) 1. We create the working directorydirectoryTest(perform at the native level by TransferCL) 2. The training files (the training file and their labels are respectively stored in one binary file) are generated. 3. TransferCL analyse the dataset, stores its mean/stdDev and store them in one file

- Training on the mobile device (
training) 1. TransferCL creates a neural network, and initializes the weights of all layers except the last one with the weights of the pre-trained network. 2. The last layer is initialized with a random number generator. 3. The training starts: TransferCL train the final layer from scratch, while leaving all the others untouched. 1. TransferCL performs the forward propagation. 2. TransferCL performs the backward propagation and the weight update only on the last layer. 4. After very few iterations, the prediction error drops significantly. All images' label are predicted correctly after only 11 iterations. (loss=1.905059 numRight=128)


- Test on the mobile device (
prediction) 1. We tested our model prediction accuracy with a test dataset, which our model has never seen. In our expleriment, TransferCL predicted all test images label correctly.